Quick Start
Get your first localization working in under 5 minutes.
1. Open the String Table Browser
After importing Lexis, the Lexis Setup Panel opens automatically. From there, choose Open String Table Browser — or go to Tools → KitStack → Lexis → String Table Browser.
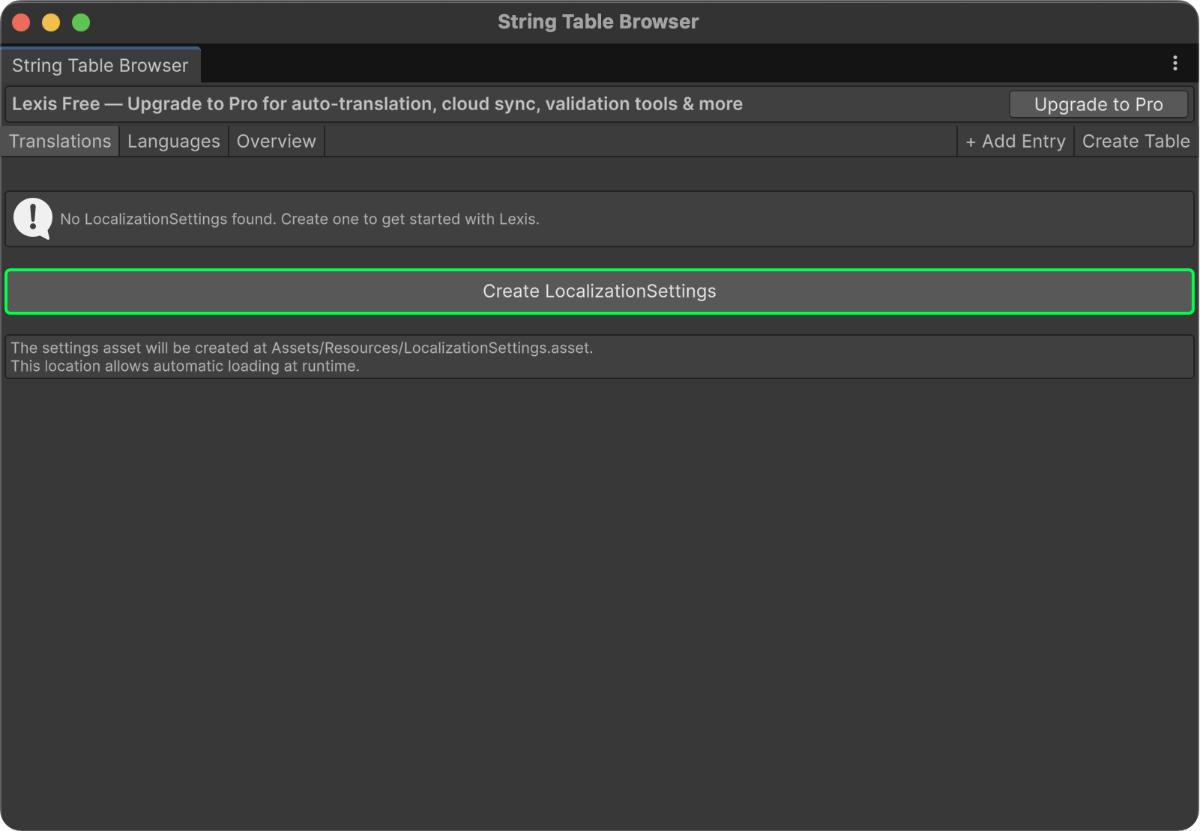
2. Create Localization Settings
In the String Table Browser, click Create Localization Settings. This creates and configures the settings asset for you.
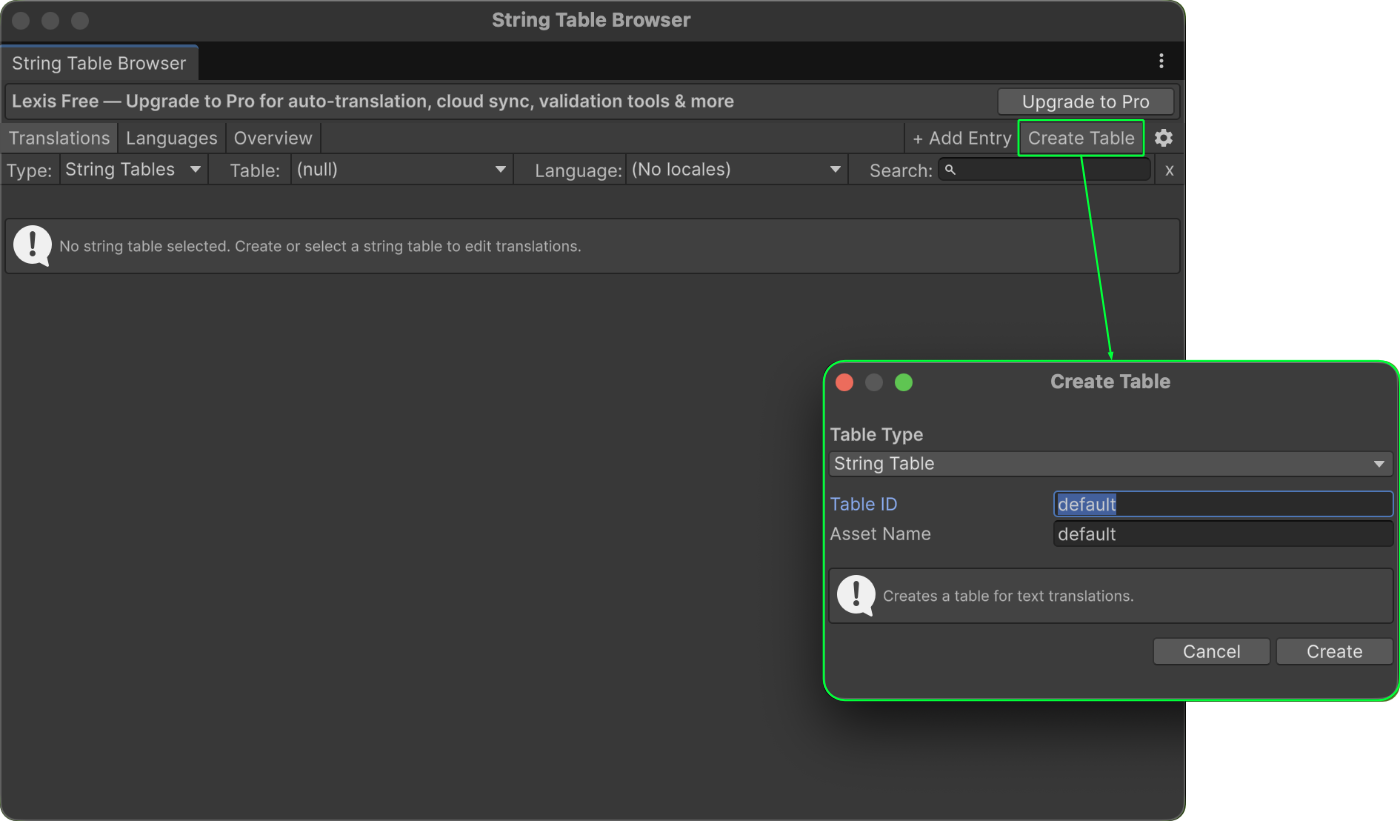
3. Create Your First String Table
In the Translations tab, press Create Table and create your first String Table. Name it e.g. MainStrings with table id main.
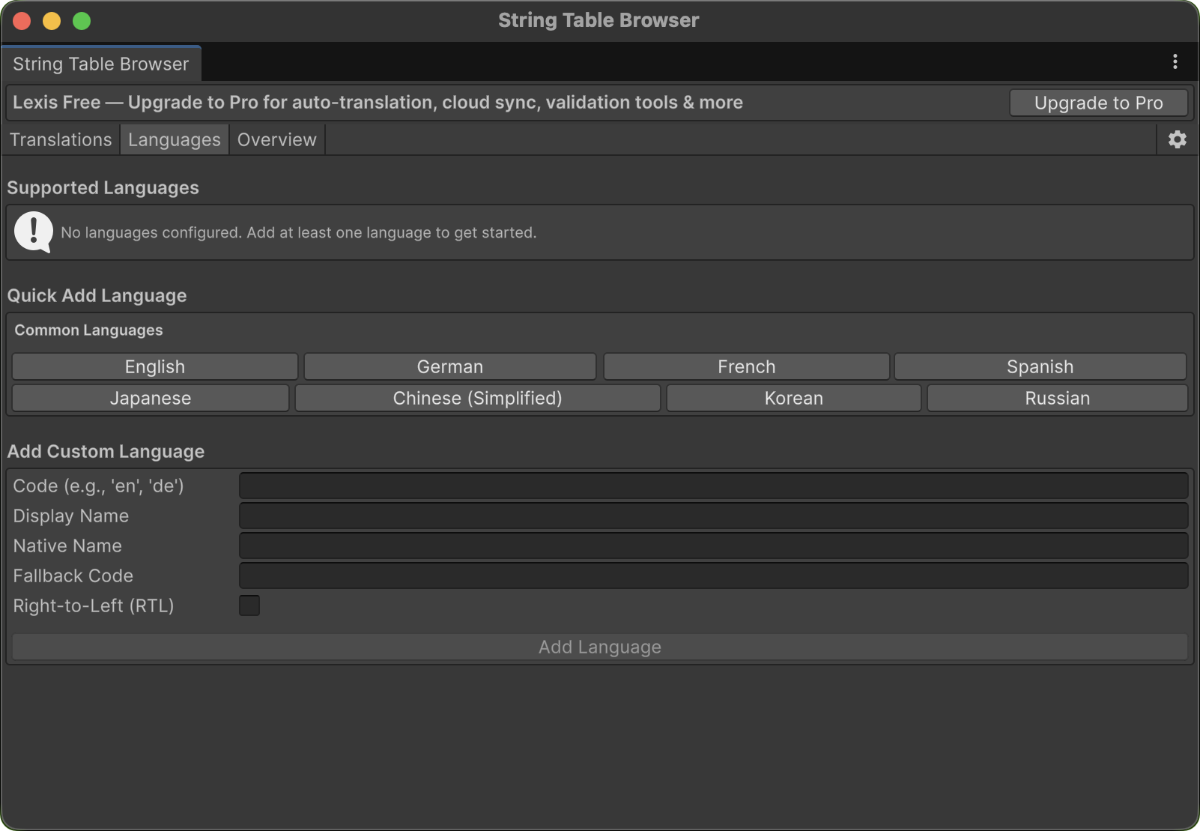
4. Add Languages
Go to the Languages tab and add your supported languages. The most common languages are already listed for quick selection.
5. Add Your First Entry
Go back to the Translations tab, click Add Entry and enter:
- Key:
greeting - Default Value:
Hello, World! - Press Add
6. Use It in Code
using Lexis;
using UnityEngine;

public class LocalizationExample : MonoBehaviour
{
    void Start()
    {
        // Initialize (loads settings from Resources automatically)
        Localization.Initialize();

        // Get a localized string
        string greeting = Localization.Get("greeting");
        Debug.Log(greeting); // Output: "Hello, World!" (or localized version)
    }
}6. Use It via Component
Lexis supports localizable components for TextMeshPro, legacy Text, Images, and more. To localize a TextMeshPro label:
- Add Component →
LocalizedTMP - On the component, select the
greetingkey
Your text should update according to the selected language and entered translation.